The marvels and pitfalls of 3D printing
First custom designed print — a loose tea tray
I've always had a fascination with 3D design and especially making that design come to life without involving complicated manufacturing and plastic forming processes. So, as soon as I had access to the printer here, I set about designing simple items on Sketchup and, after a short demonstration from a colleague, proceeded to burn (metaphorically speaking) through filament like no tomorrow.
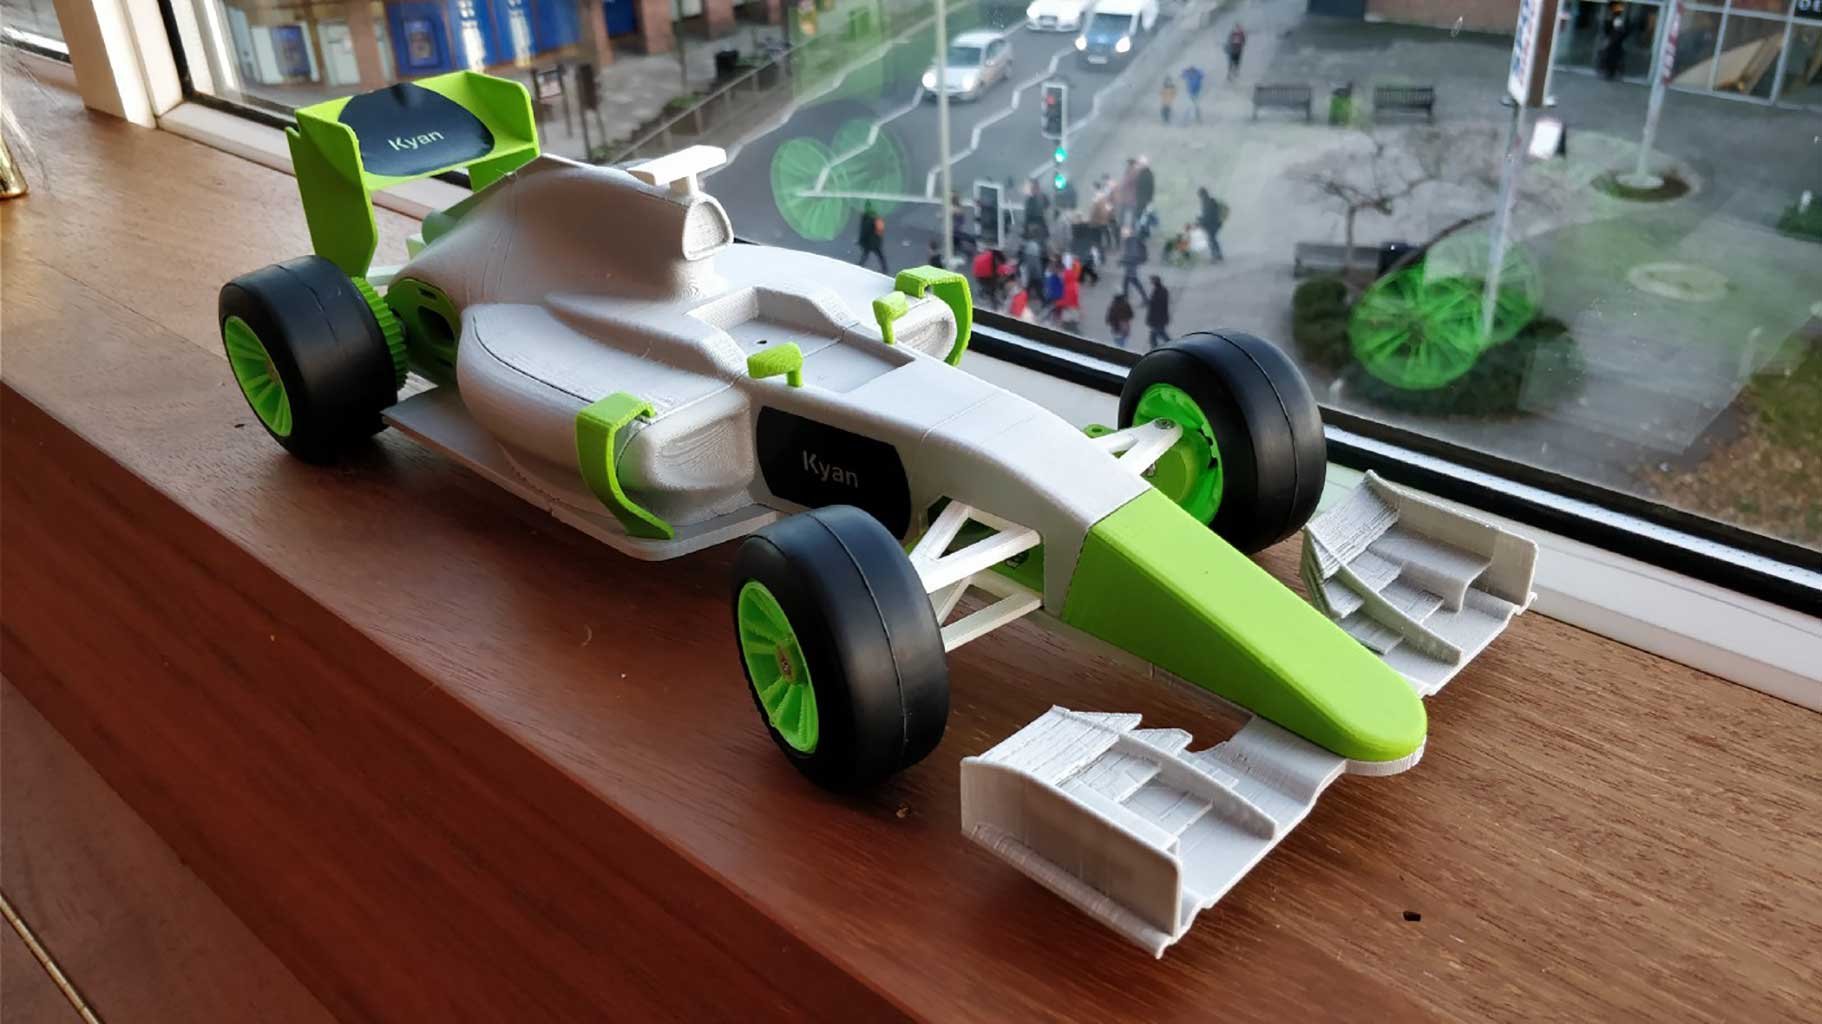
On day 2, I decided to learn in a practical manner some of the intricacies of 3D printing, so I searched for a design that would be complex, involve a lot of differently sized and shaped pieces, and that would look great on my desk when it was complete. I settled on an existing open source project called OpenRC, which included at that point designs for several different cars, but which started with a self-assembled 1:10 scale Formula 1 racing car. The project required parts as large and tricky as the chassis base, and ranged down to smaller items like the drive gear (a 15 tooth gear, maybe 1cm across).
One of the smallest componentsThe printer itself is a MakerBot Replicator+, one of the premium models from MakerBot. It has extremely useful software that allows the user to edit settings ranging from the extrusion temperature right up to the infill (which, considering you almost never see the inside of prints, amusingly features a cat pattern). A lot of my failures while printing the car, and there were a healthy number of them, came from playing around with these features to try and nail down best practices for printing.
Starting off with the smaller pieces meant that any mistakes were quick to print and reprint, so I wasted little time and could plant several of them to be printed in one run. Some of the bigger, flatter sections ended up peeling up at the corners due to the plastic cooling as it shrank, so I learned to clean the build plate, and alter some designs to include "ears" to stick the corners down more firmly. I also learned to make subtle adjustments between different filament companies' products, and how well different types and colours of filament perform — even if a filament looks 'silver', in layers it will just look grey and not as shiny as you might expect.
Electronics fitted inside — driver motor, controlled, and LiPo battery
Over the period of about a week, the car slowly started to take shape, not without occasional questions like "When can I drive it?" and "Can I put a Raspberry Pi in it?" being thrown my way. Having ordered a set of electronics, some Tamiya rubber tyres, and some model nuts and bolts, I managed to assemble the entire thing right before Christmas, and even Laurent was rather pleased with the end result. Some finishing work included slicing off a few burrs and loose ends — sections needed to be trimmed down where the fit was tight between components. The main drawback of 3D printing is that it produces a great rapid prototype, but it is that and nothing more. The height of each printed layer is effectively the 'resolution' for the print itself, so surfaces are far from smooth, and edges come out a little bigger than you might have expected looking at the digital rendering of your print. Nonetheless, mechanically speaking everything seemed to perform.
The completed car
I will admit our Makerbot is more than just a toy — it is a useful tool. It certainly promotes creativity and helps people pursue personal design projects all the way through to a prototype, which fits in well with the work ethos at Kyan. It is tantalising to think about the opportunities that it could provide for us in future when looking at the collision course that software and hardware are on, especially with technology such as VR being developed in leaps and bounds. Perhaps in future, Kyan will branch out into physical product design and create bespoke wearable or handheld aids to help our clients to bring their software to customers in futuristic and innovative ways.
Written by

Nick Linnell